DietPi Setup – Preparations
Let’s start with the installation of our Raspberry Pi operating system DietPi:
- https://dietpi.com/docs/install/ (step 1. – 3.)
When you finished all preparations from the link above and connected your Raspberry Pi with your network (network cable) the Raspberry Pi should now start the first time with its new operating system DietPi. You can now connect it to a keyboard and a screen directly or you scan your network for the IP address of the Raspberry Pi to connect directly via SSH from your personal computer. To scan your network for the IP address you can check this in your router or you can use the tool Advanced IP Scanner.
Usually your Raspberry Pi will get another IP address every time you will restart it because of DHCP. To prevent this change you can change some settings in your router for that specific device. In every router this setting for having a static IP address for a device is a bit different, therefore I have a few very common router models as examples listed here (please let me know in the comments if you want to have this information for another router):
- FritzBox: https://en.avm.de/service/fritzbox/fritzbox-7390/knowledge-base/publication/show/201_Configuring-FRITZ-Box-to-always-assign-the-same-IP-address-to-a-network-device/
- D-Link: http://blog.dlink.com/mastering-static-ip-addresses-2/
SSH Connection and DietPi setup
If you are not connected directly to your Raspberry Pi with a screen and a keyboard you can use Putty for establishing a connection to your Raspberry Pi from your personal computer:
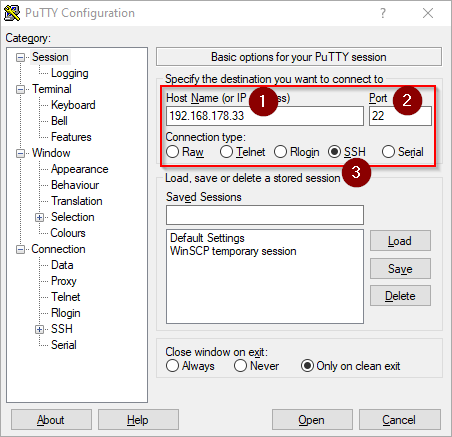
- Enter here the IP address of your Raspberry Pi
- This should be port 22 for SSH
- Select SSH for the Connection type
After opening the connection you will be asked for login credentials:
- Username: root
- Password: dietpi
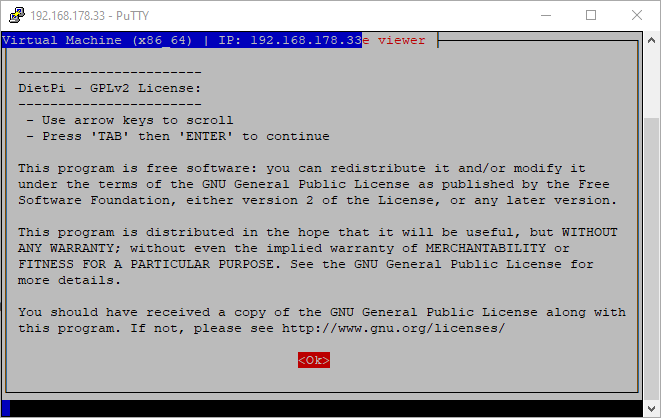
After confirming the license agreement it will immediately start with an update for the whole system. This can take a few minutes depending on your internet connection and the speed of your device. Just wait until the process is finished and you see this screen:
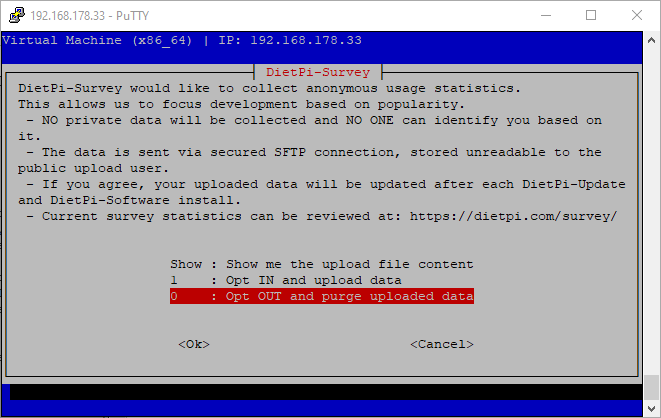
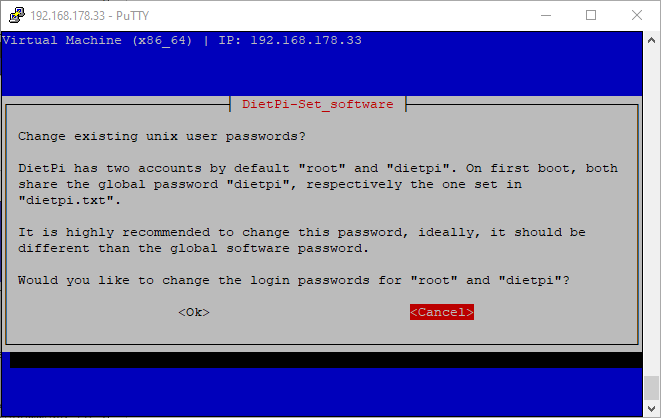
Make your decision here and confirm to go to the next step:
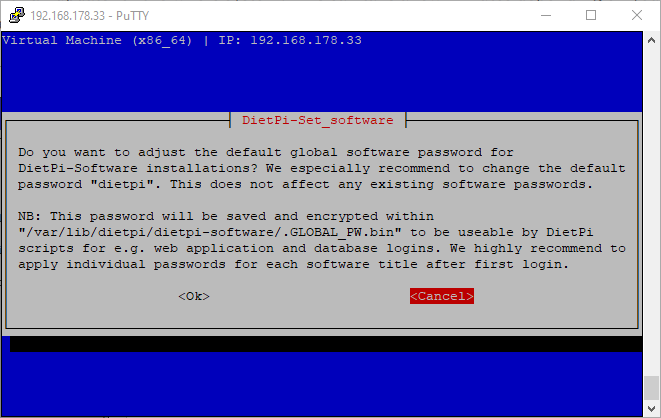
It is always a good idea to adjust the password for the system – even if you only want to use it in your local network.
Same for Unix user password:
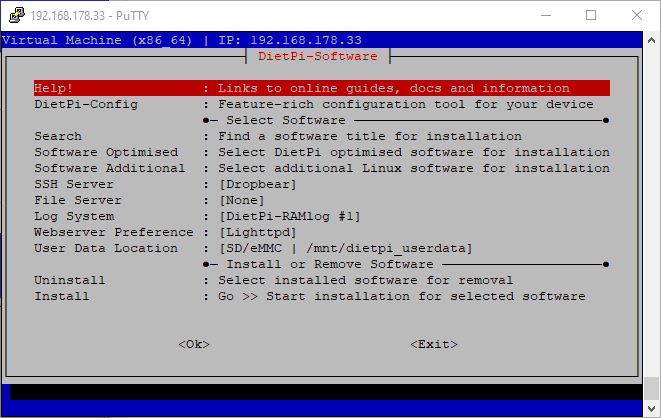
When you see this screen you have finished the initial installation and configuration of DietPi – congratulations!
3 thoughts on “Raspberry Pi – Install the easy and fast DietPi operating system”