Do you now the annoying ads you see on nearly every device while surfing in the Internet on websites? Maybe you have already heard about browser plugins like AdBlock or similar tools to block the ads in your browser but then you might be already aware of the disadvantage of these solutions…you have to install it on every device in every browser. What about to use your Raspberry Pi to block any ad even before it reaches your devices so that you do not have to take care of any further actions on any of your devices? Let’s use Pi-hole on your Raspberry Pi for this.
Hardware & Software
Let’s start with a list of hardware we need for that small project:
- Raspberry Pi
- Raspberry Pi Power Supply
- Micro SD Card for Raspberry Pi (>= 16 GB)
- USB Micro SD Card Reader
- Network Cable for Raspberry Pi or WLAN adapter
- USB drive or external hard disc to save big download files (opt.)
When we have this ready we can start with preparing our software:
- https://dietpi.com/#download (choose your device from the list)
- https://www.balena.io/etcher/
- https://www.chiark.greenend.org.uk/~sgtatham/putty/latest.html
Install DietPi operating system
First we need to install the operating system on the Raspberry Pi. For that we use DietPi which is a small, fast and easy to use operating system you can use for your Raspberry Pi. The detailed installation instructions you can find in our blog post here:
Install Pi-hole
After installing and configuring the operating system and being able to connect to it we have to start to install and configure the software Pi-hole now. This is the software we will use to block all ads in your network so that you can enjoy surfing in the internet without being interrupted or annoyed by ads on every website you visit.
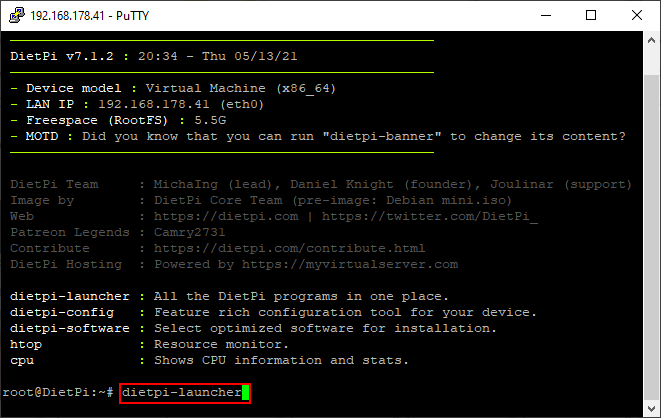
First you have to connect to your Raspberry Pi via Putty (as it was described in the installation part before) and you have to open the DietPi launcher with the command:
dietpi-launcher
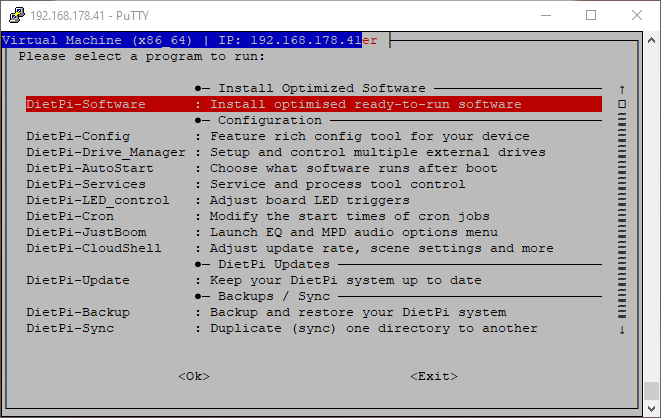
After that you have to open the “DietPi-Software” menu:
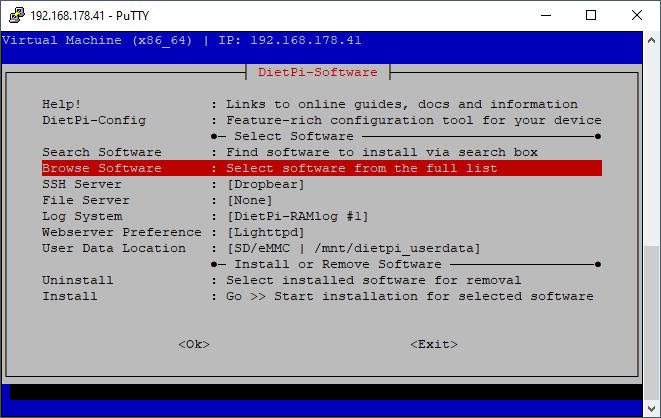
Go to “Browse Software” to see a list of the available software in DietPi:
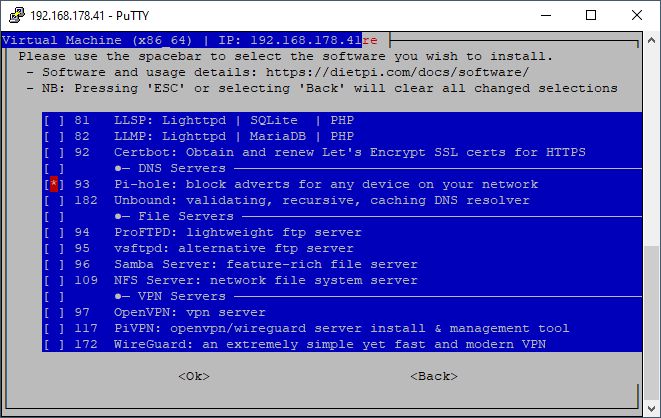
Scroll down until you find the entry “Pi-hole:…” in the category “DNS Servers”:
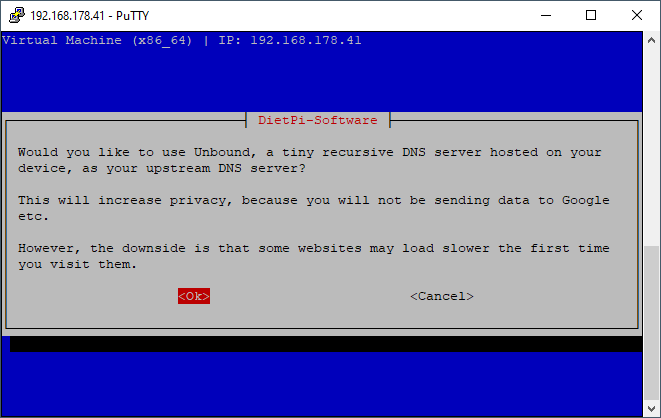
Confirm the selection with “Ok” and select if you want to use “Unbound” as your recursive DNS server. For the purpose of just having an ad blocker this is not necessary:
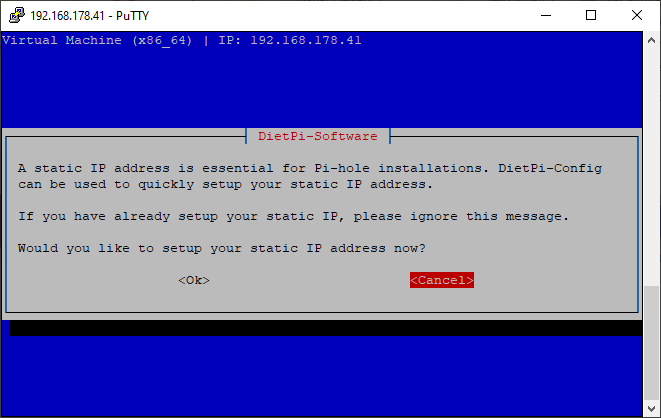
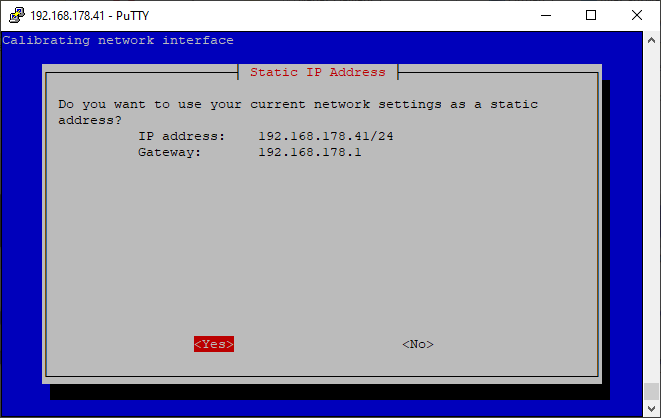
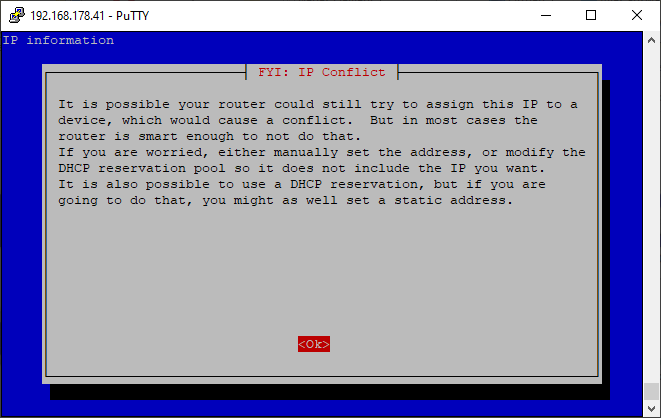
In the following step you will be asked for a static IP address, when you have configured it already on your router as described in the DietPi setup linked above you can skip the step. If not please read again the DietPi installation article.
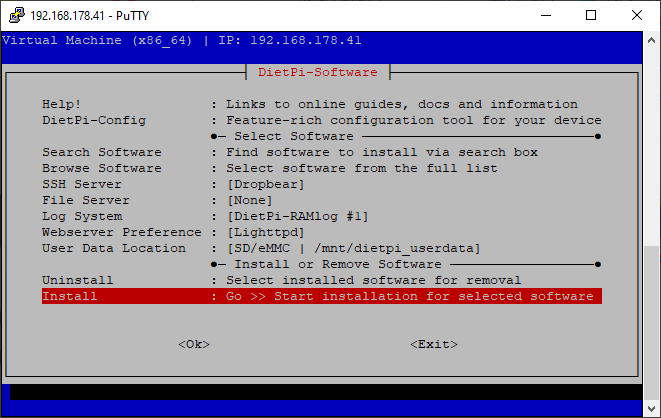
Now you will be redirected back to the “DietPi-Software” page where you start the installation of Pi-hole when you select “Install”:
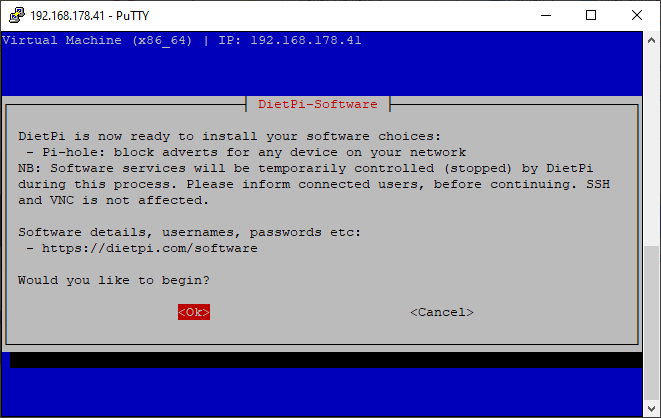
Confirm the installation and start:
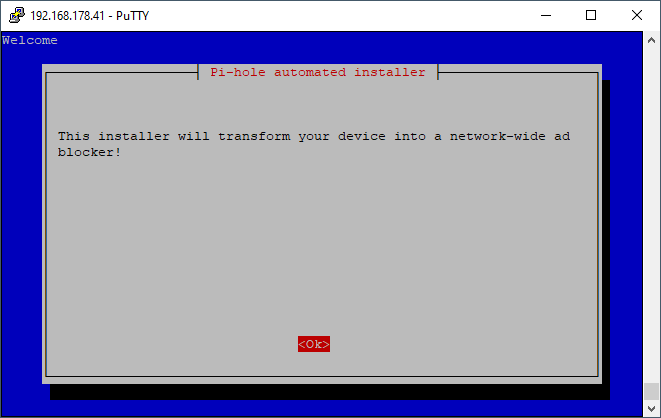
This can take some time because it has to download and install a few packages to make this work. Just be patient and wait for this screen:
Click through the steps until you reach the following screen to select the DNS Provider:
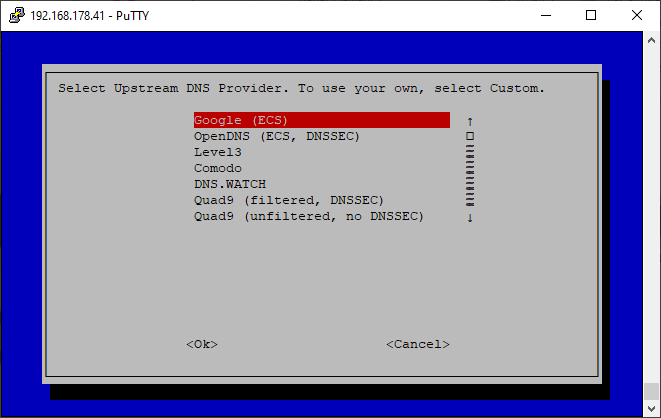
Here you can select for example the preselected Google DNS Provider. After that go through the next steps:
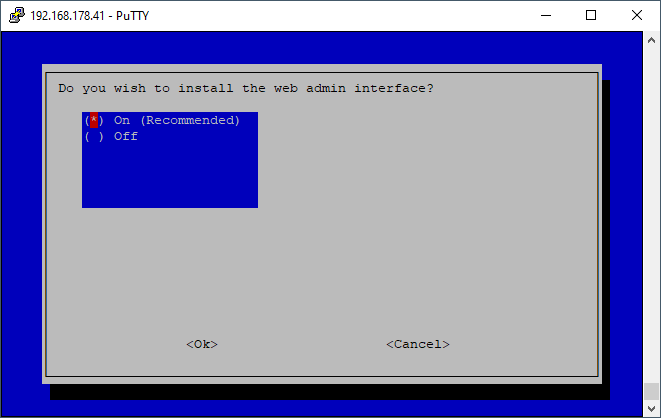
In the next step you can choose if you want to install the web admin interface which I recommend if you want to have an easy way to control and check Pi-hole in your browser:
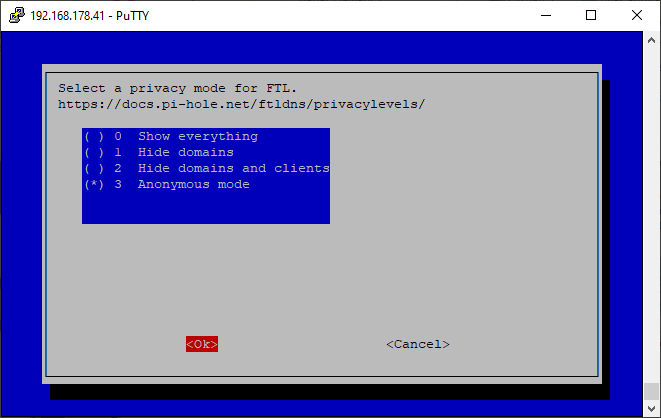
Then you can check if you want to log queries or not. In the screen after that you have to choose whcih privacy mode you want to use. If you want to show everything, hide domains / clients or if you want to run in anonymouse mode:
After that final step you have to wait until the configuration is finished and you get the following confirmation screen. There you will got two important information:
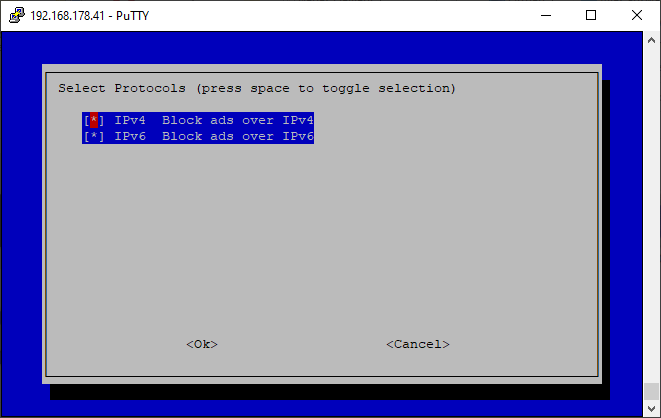
- IPv4 address you have to use as your DNS server
- Web interface address to open it in your browser

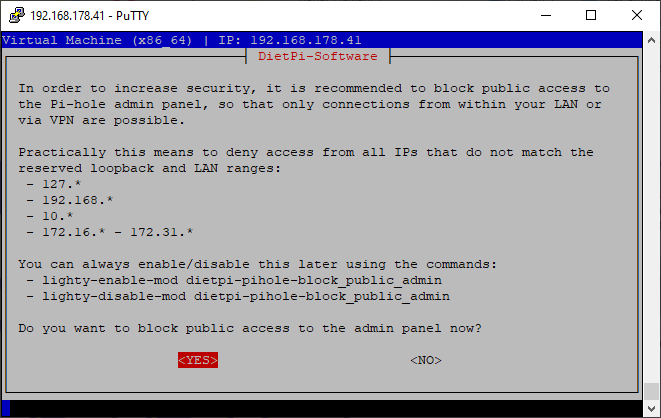
Write it down and confirm this step to continue with the setup. In the next screen it will ask if you want to block public access to the Pi-hole admin panel so that only connections from within your LAN or via VPN are possible. I highly recommend to follow the approach and block public access:
Finally you will be redirected to the dietpi-launcher start page and Pi-hole is installed and ready to use. You can check that by trying to open the web admin interface:
- <your-raspberrypi-ip-address>/admin
If the installation was successfully you can open the following view in your browser:
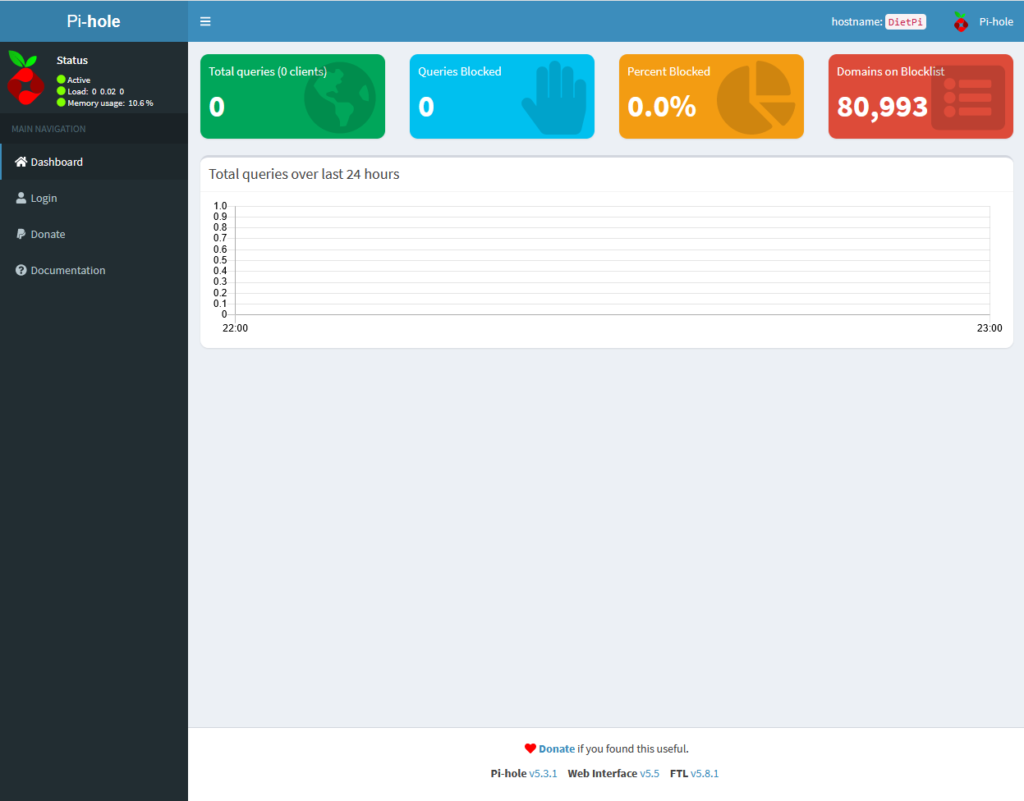
- Password: <your-global-software-password> (default: dietpi)
To use Pi-hole on your device you have multiple options:
- Change DNS server on your device (section “On a Windows PC” on https://www.howtogeek.com/167533/the-ultimate-guide-to-changing-your-dns-server/)
- Change DNS server for all devices in your local network by changing DNS server on your router (section “On Your Router” on https://www.howtogeek.com/167533/the-ultimate-guide-to-changing-your-dns-server/ or https://www.lifewire.com/how-to-change-dns-servers-on-most-popular-routers-2617995)
Advanced Configuration
If you can to deep dive into the configuration of the Pi-hole and you want to know more about the possible settings, you can check the following links: